THE BRANDS YOU LOVE, AVAILABLE LOCALLY!
Find a StockistTHE BRANDS YOU LOVE, AVAILABLE LOCALLY!
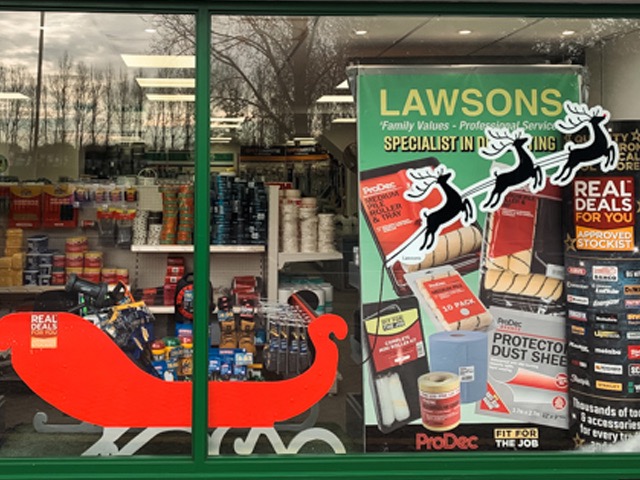
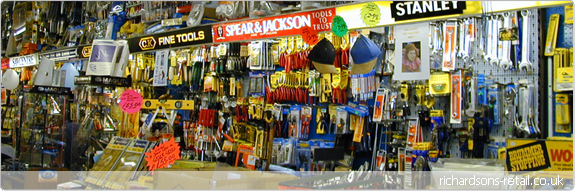
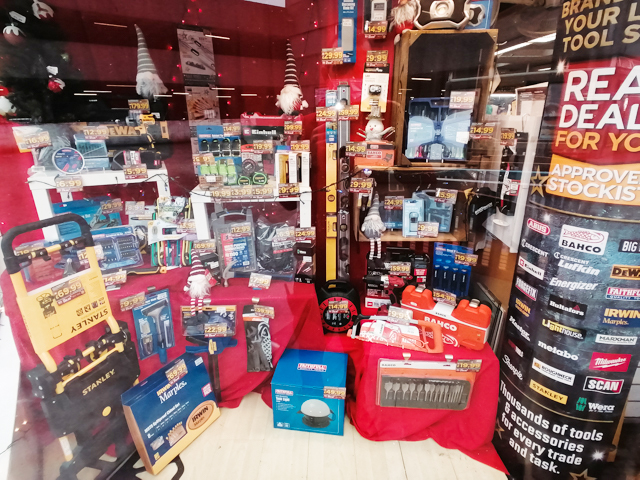
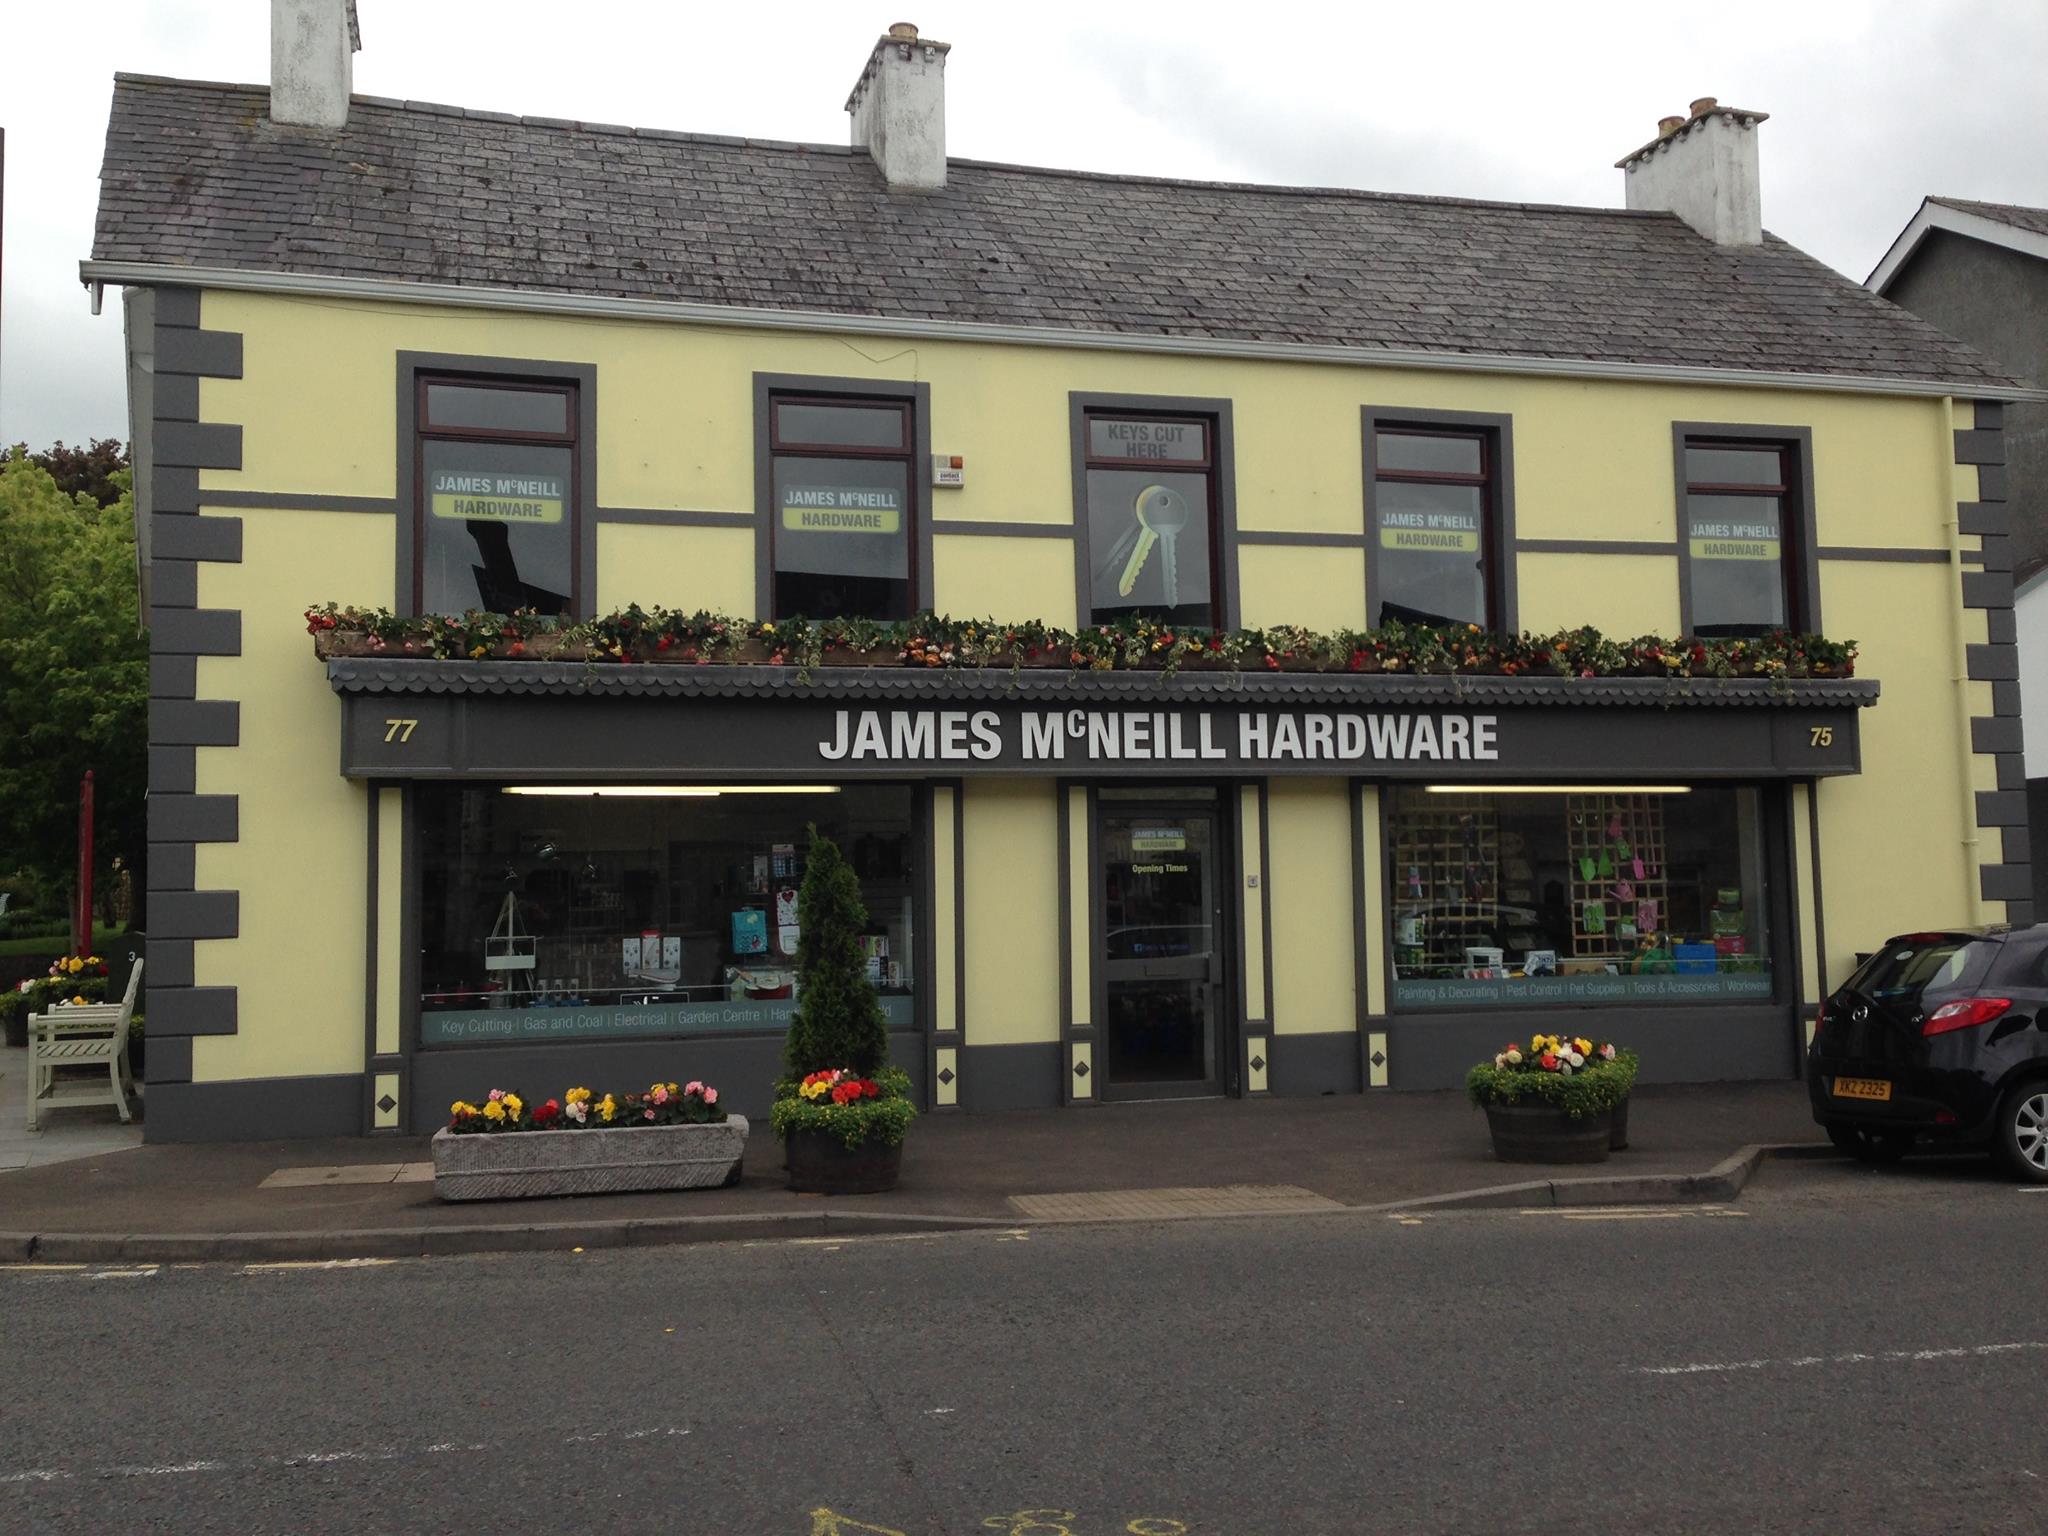
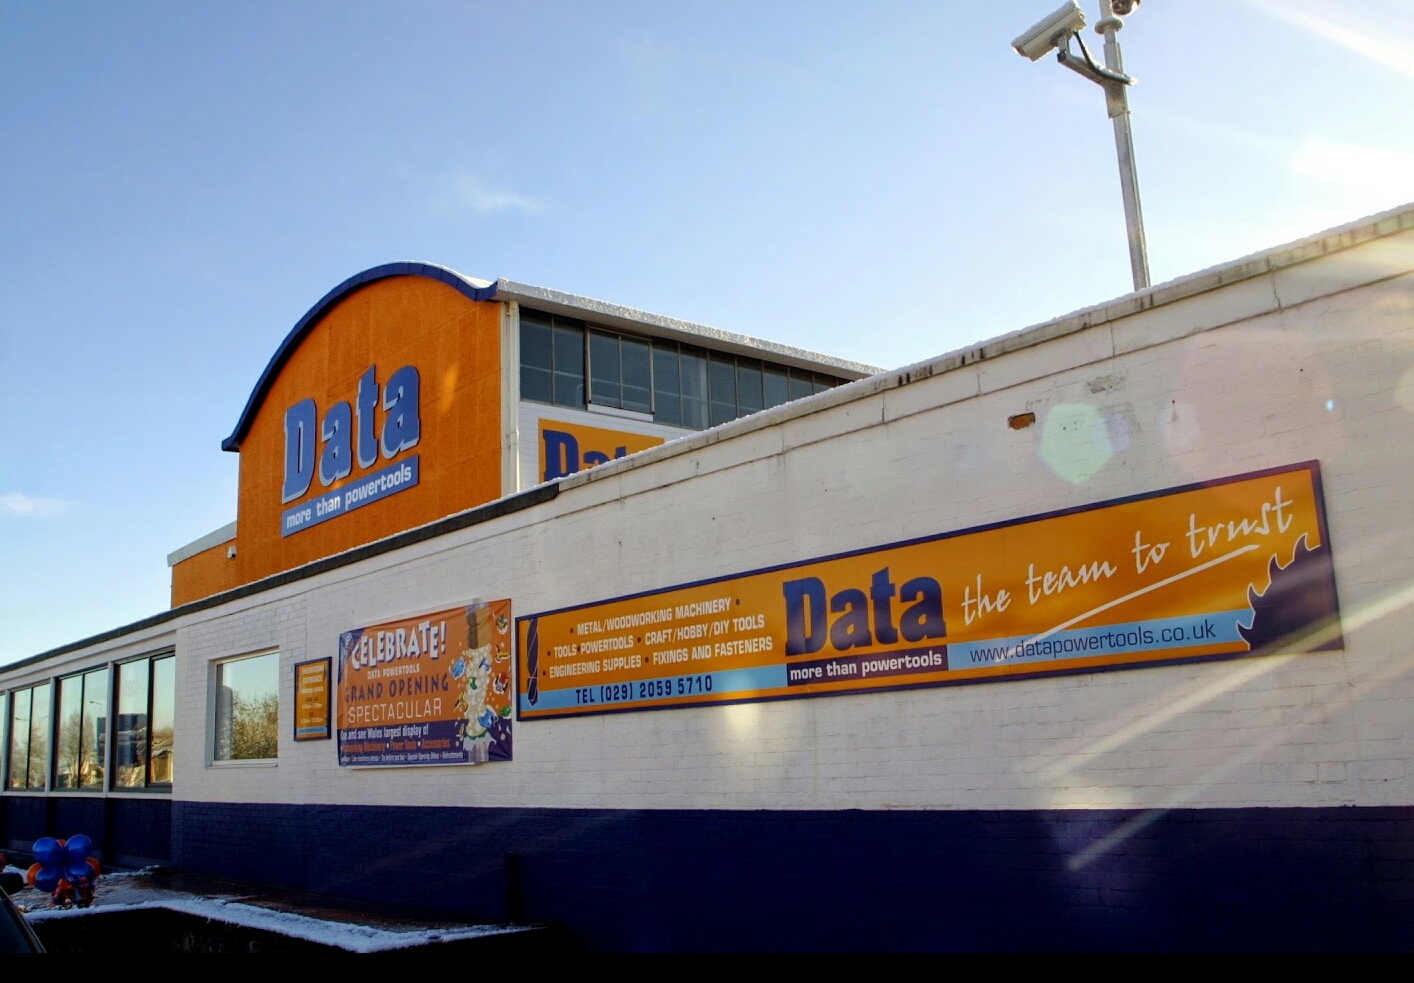
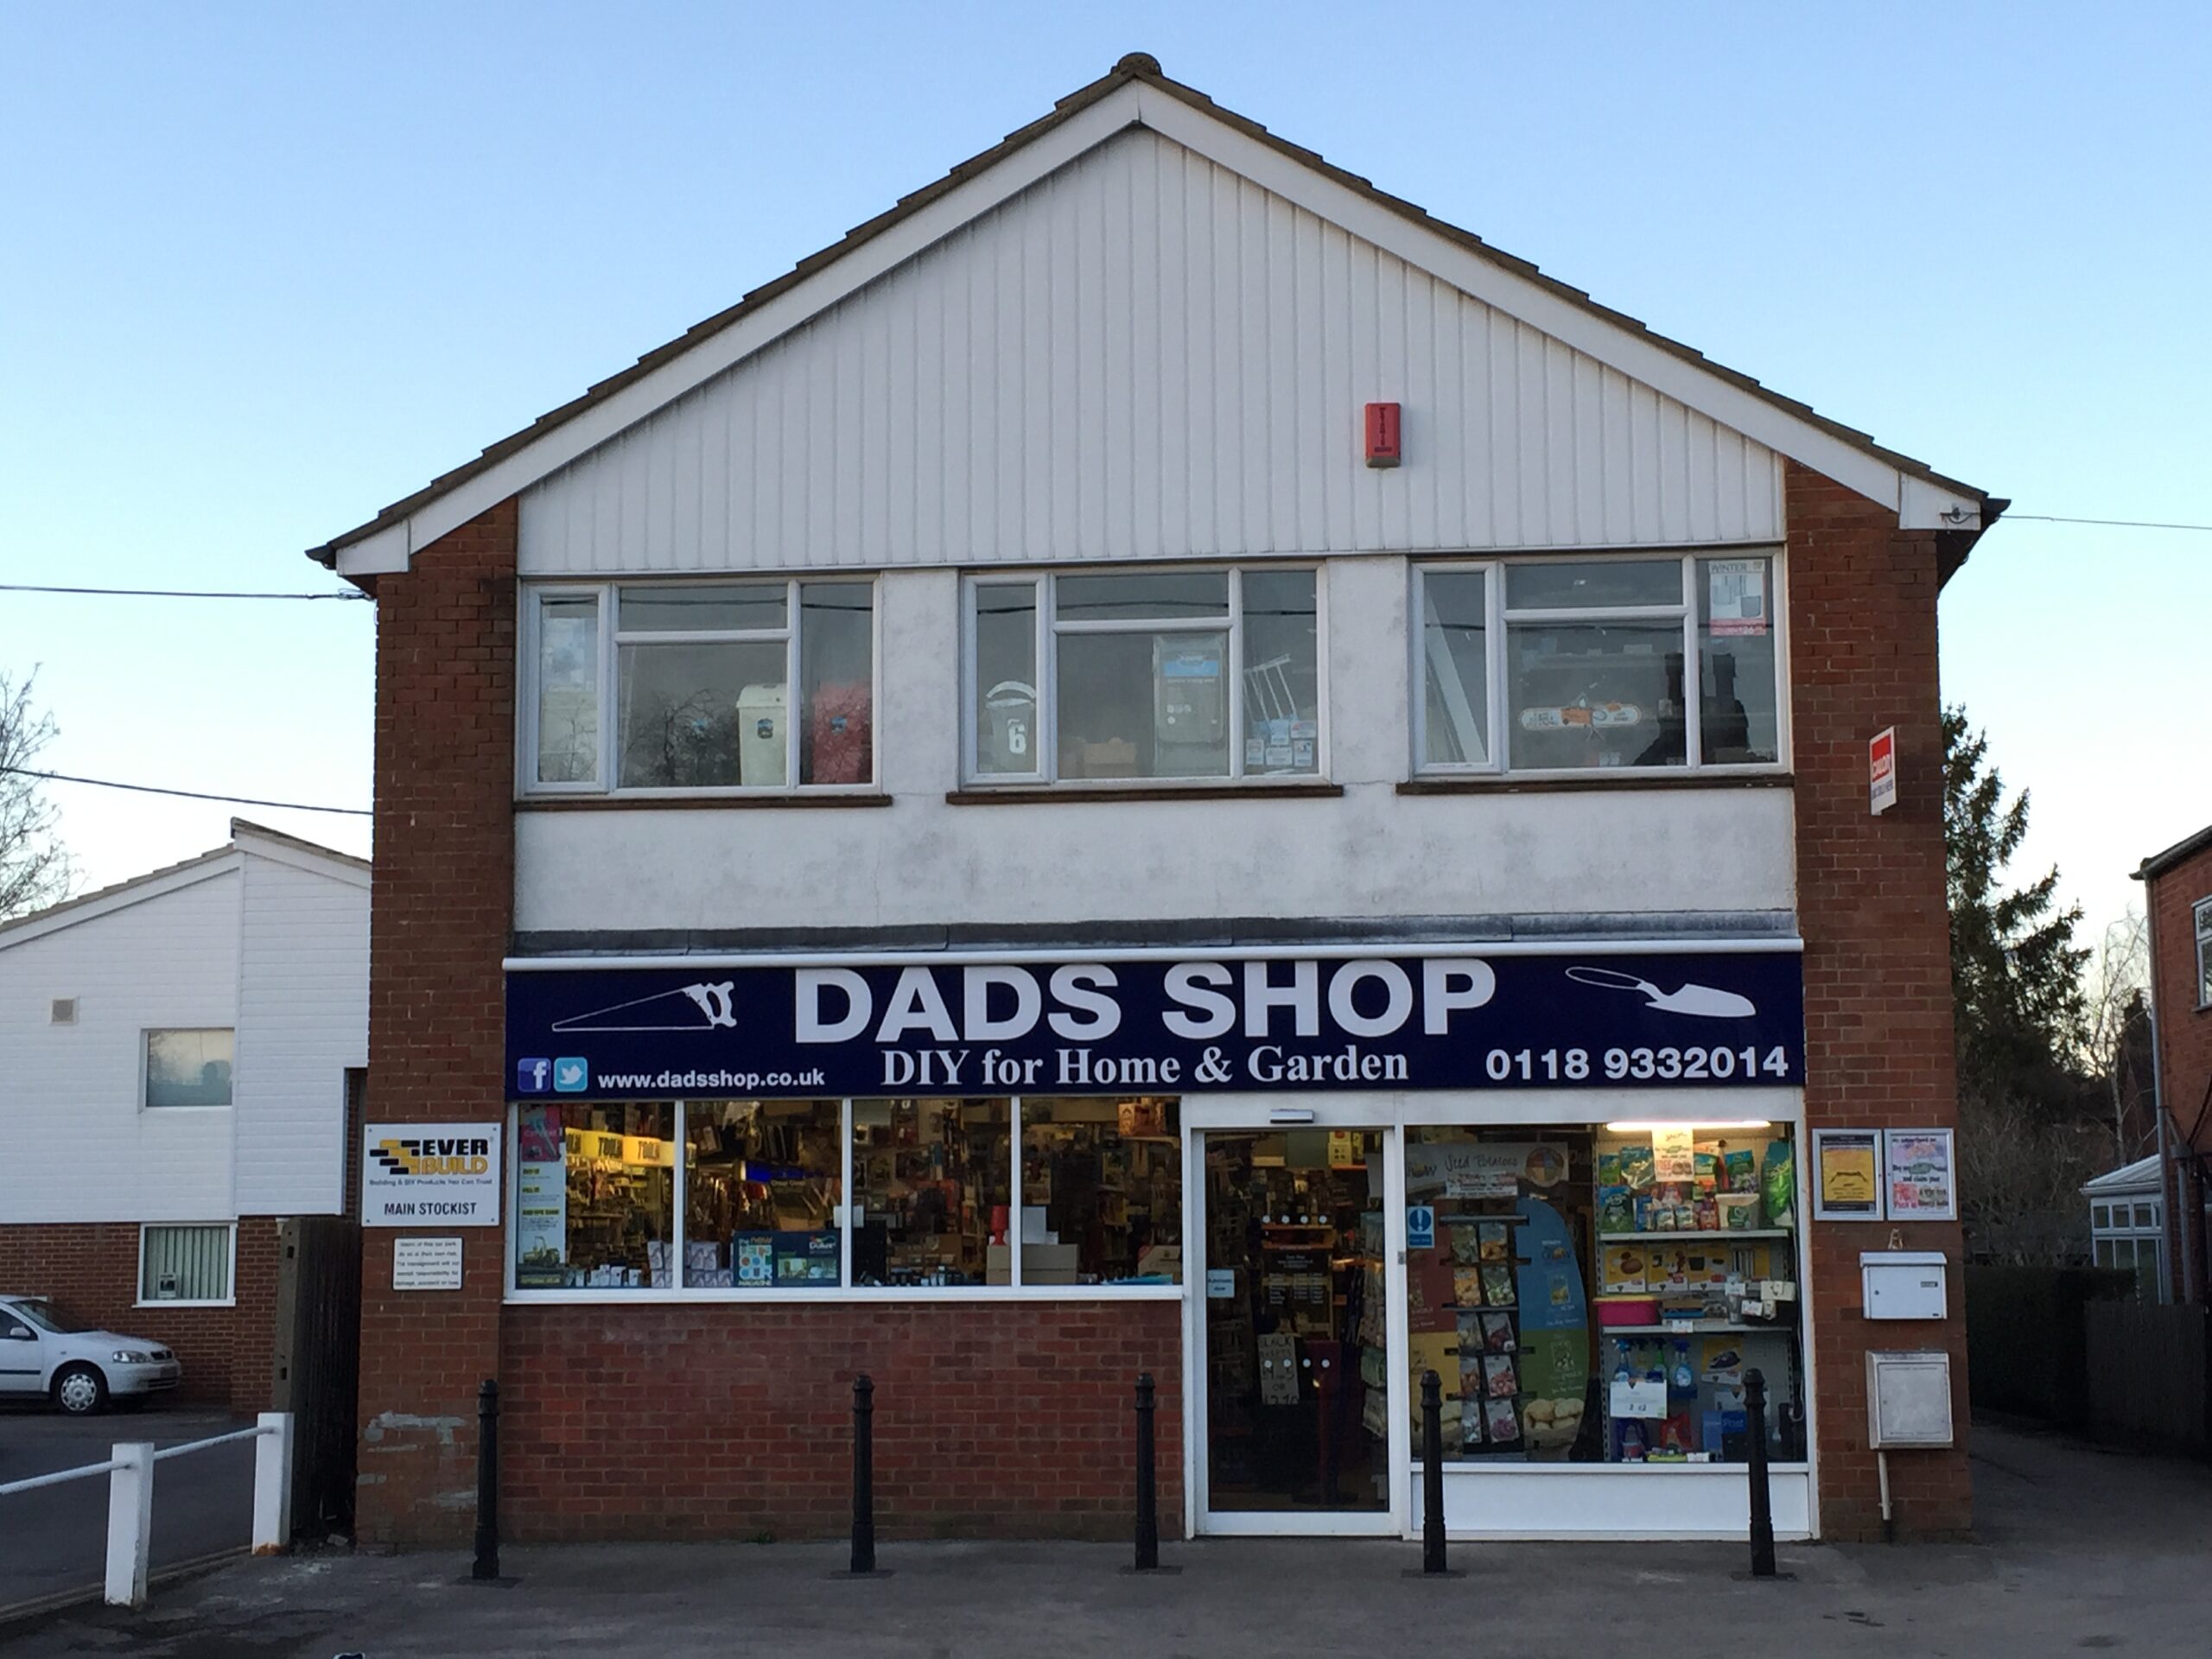
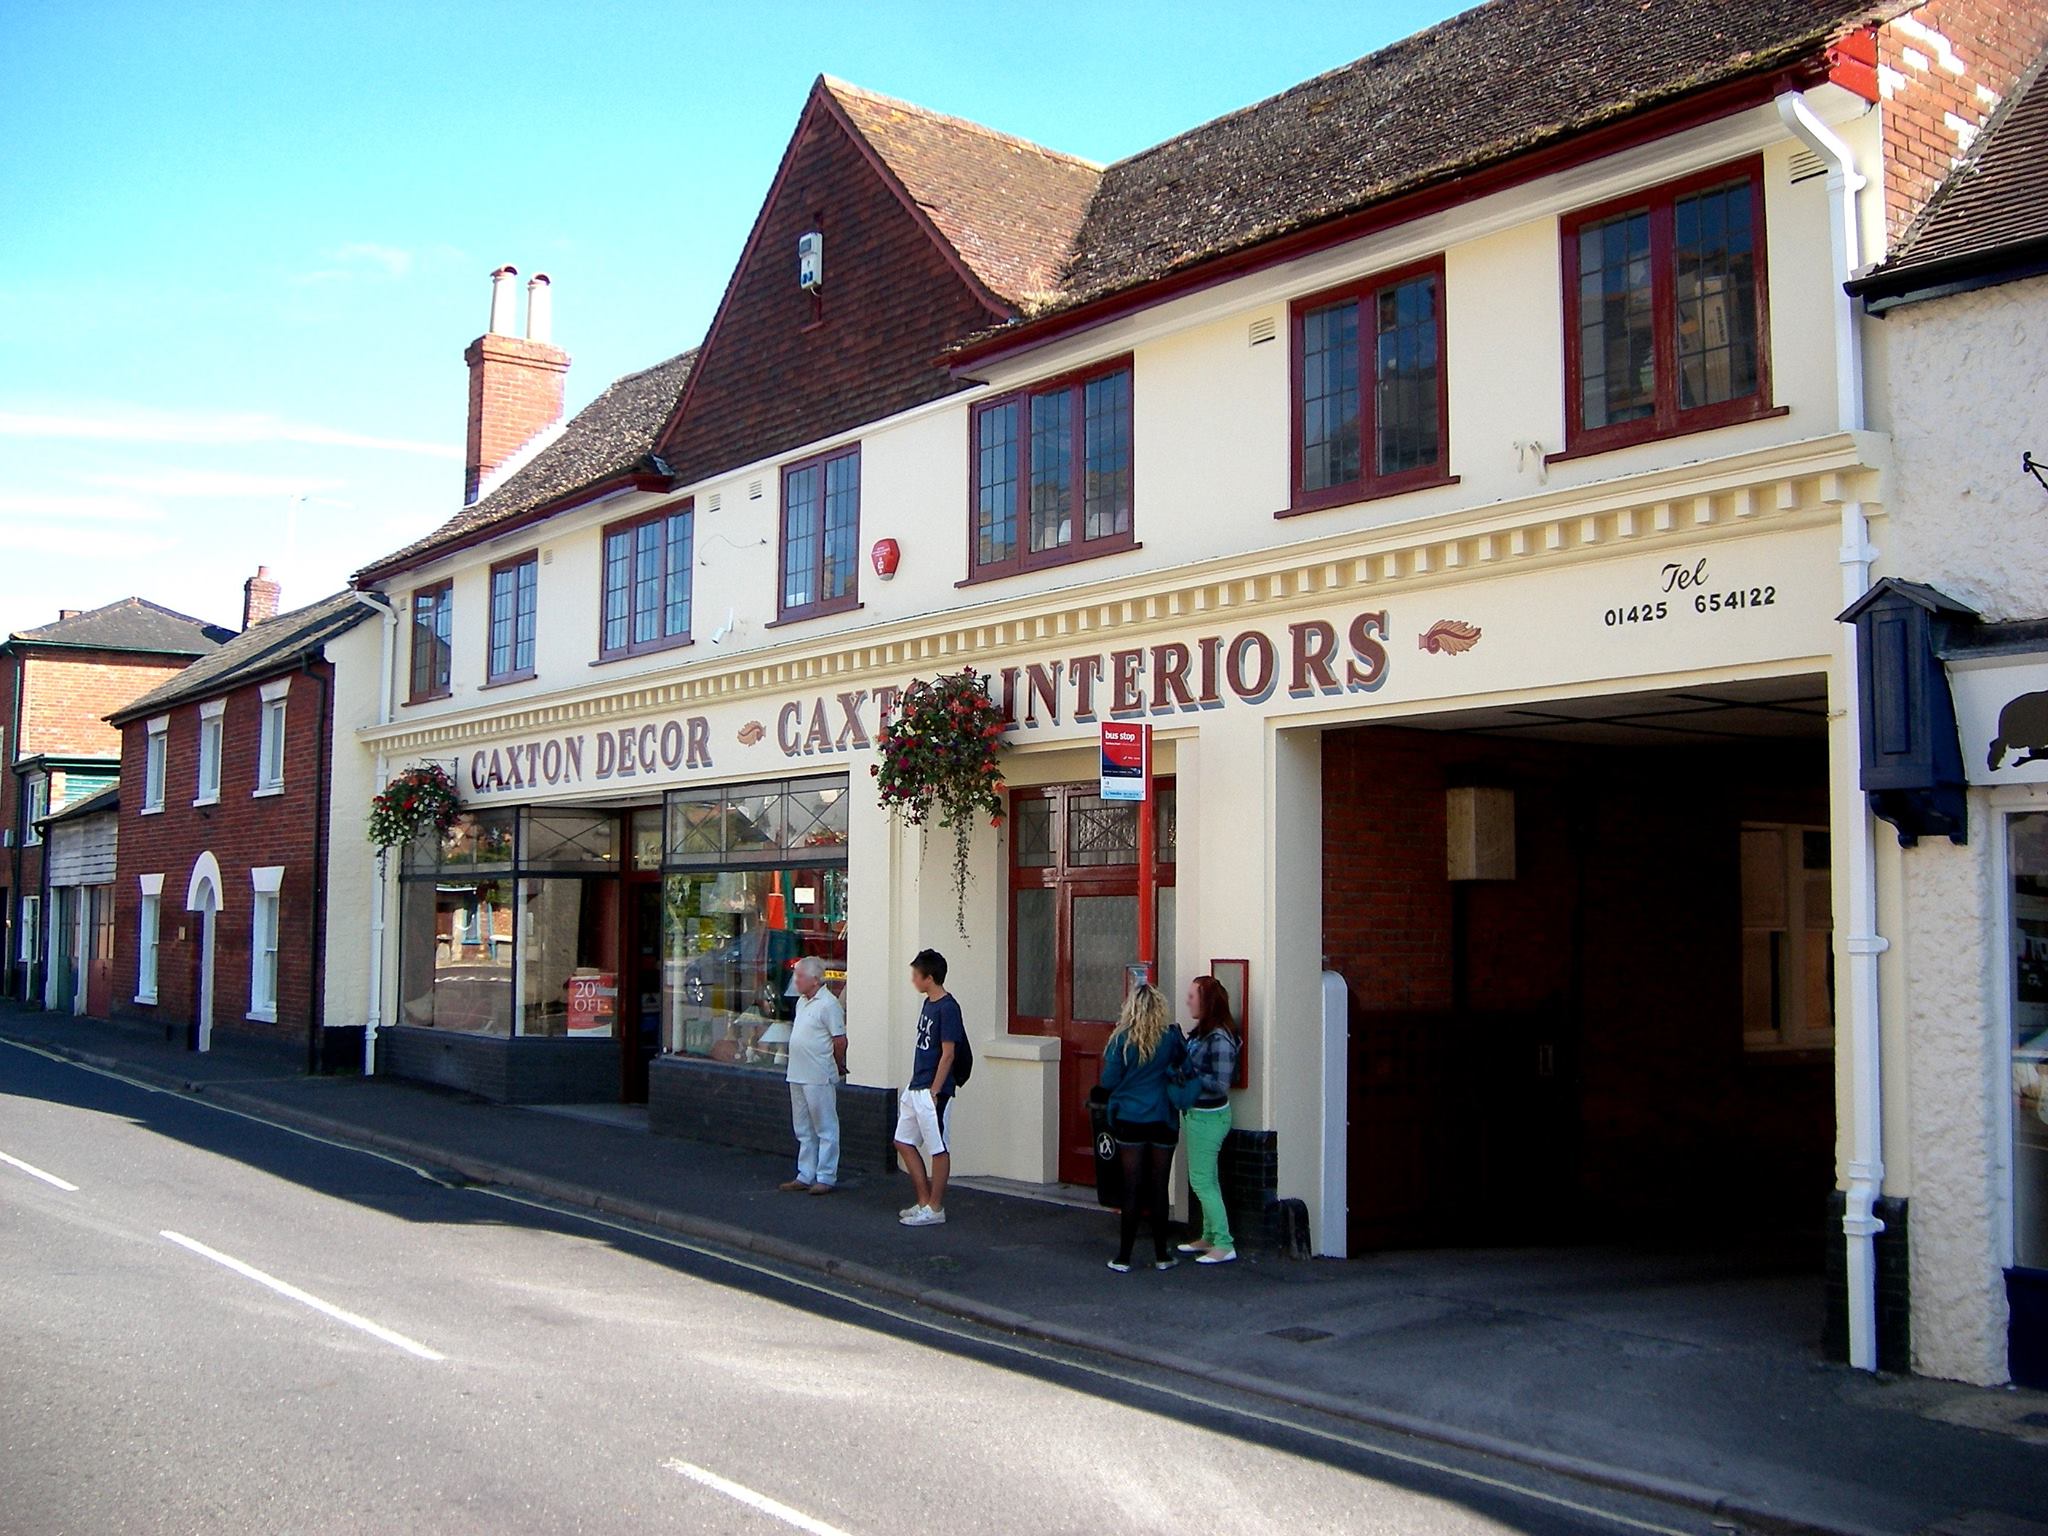
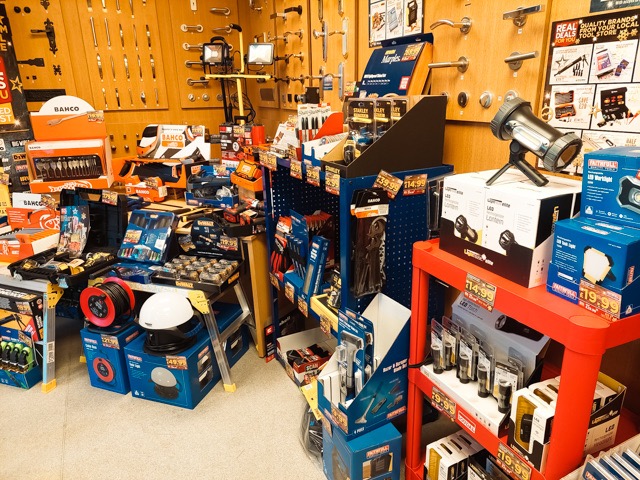
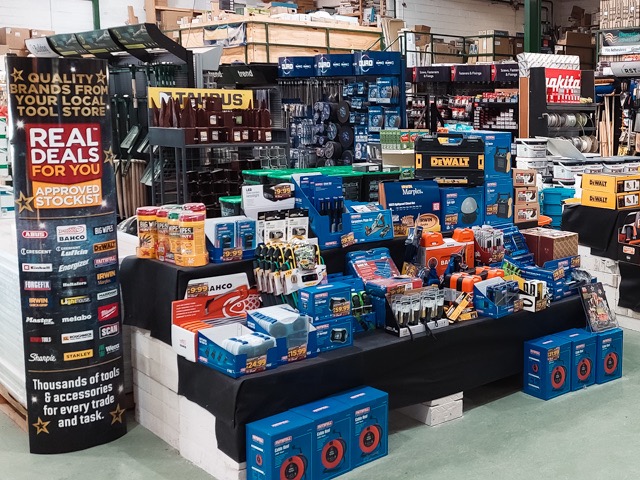
Find a StockistWith all the GREATEST brands on board, our year-round Real Deals for You campaign brings the TOP tools, right to your doorstep! Thanks to our GROWING network of over 2,000 Approved Stockists, you can access WORLD-CLASS manufacturers and expertise close to home, while supporting your local tool store.
What More Can You Expect
- Beyond Just Quality Tools?
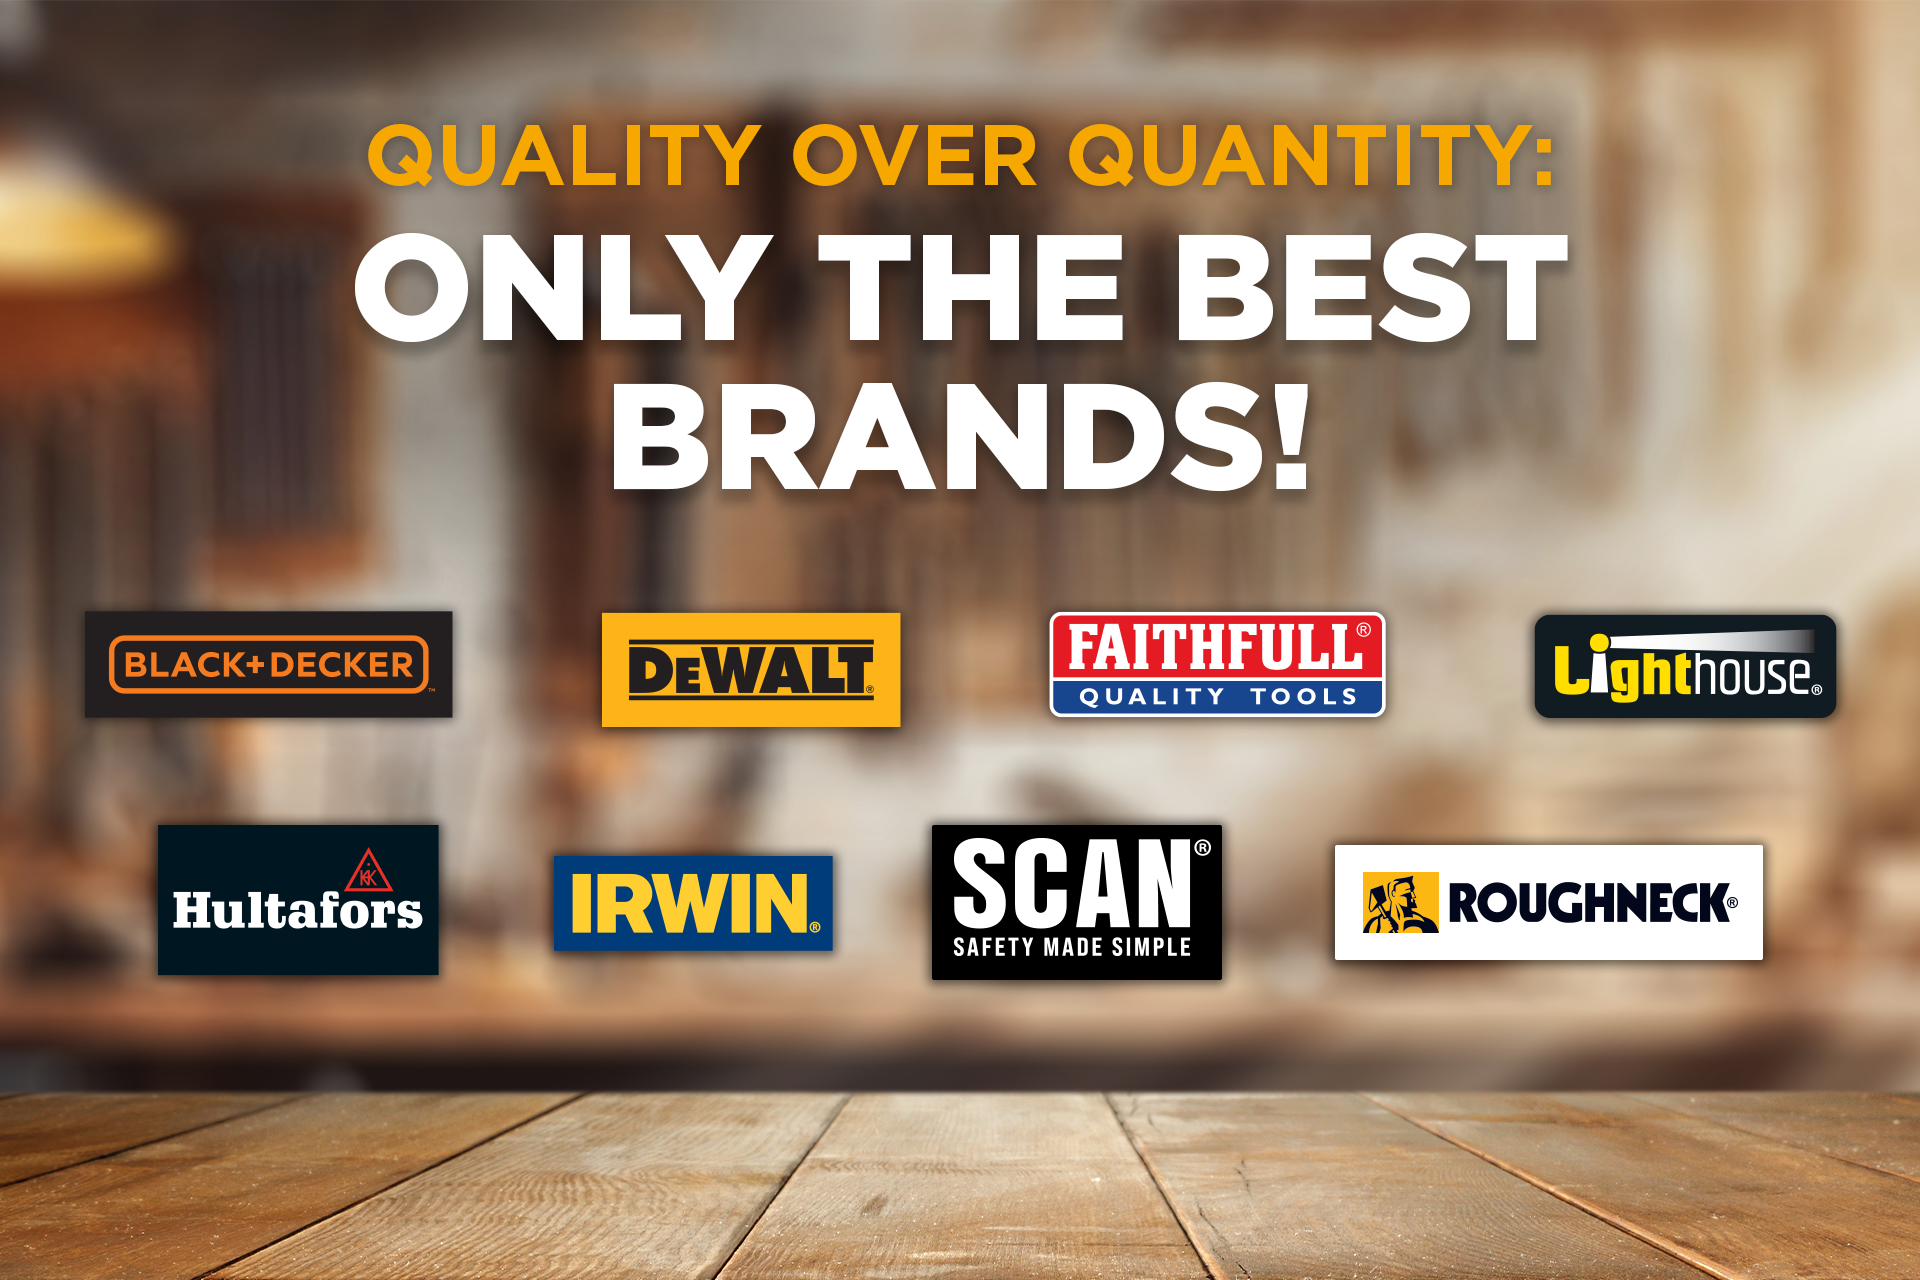
Explore a handful of our vast stockist network below, plus all the world-class brands you can expect on our promotion!
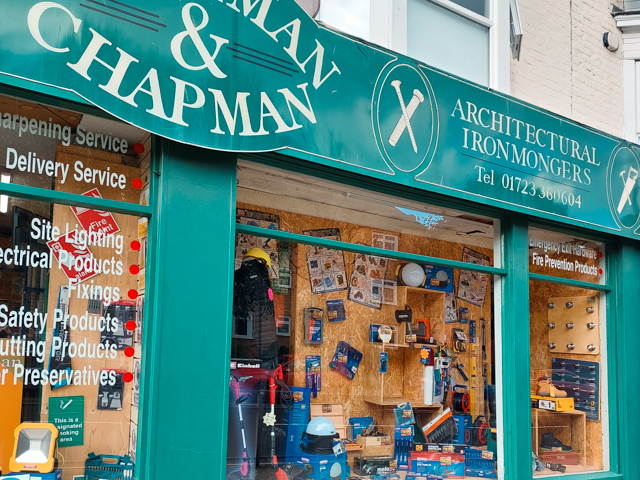
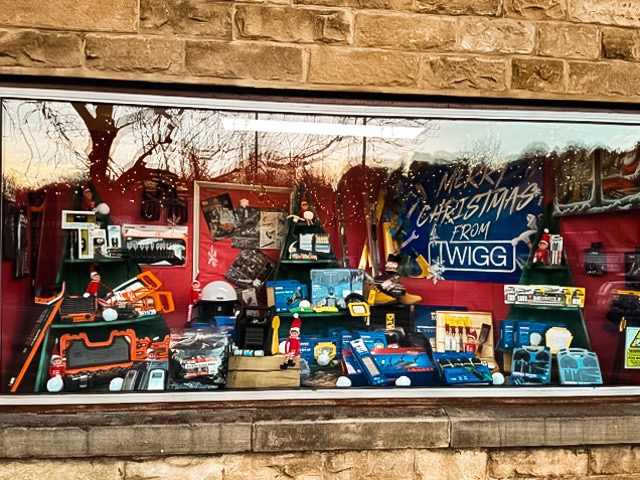
Access to 2,000+ Stockists Across the UK & Ireland!


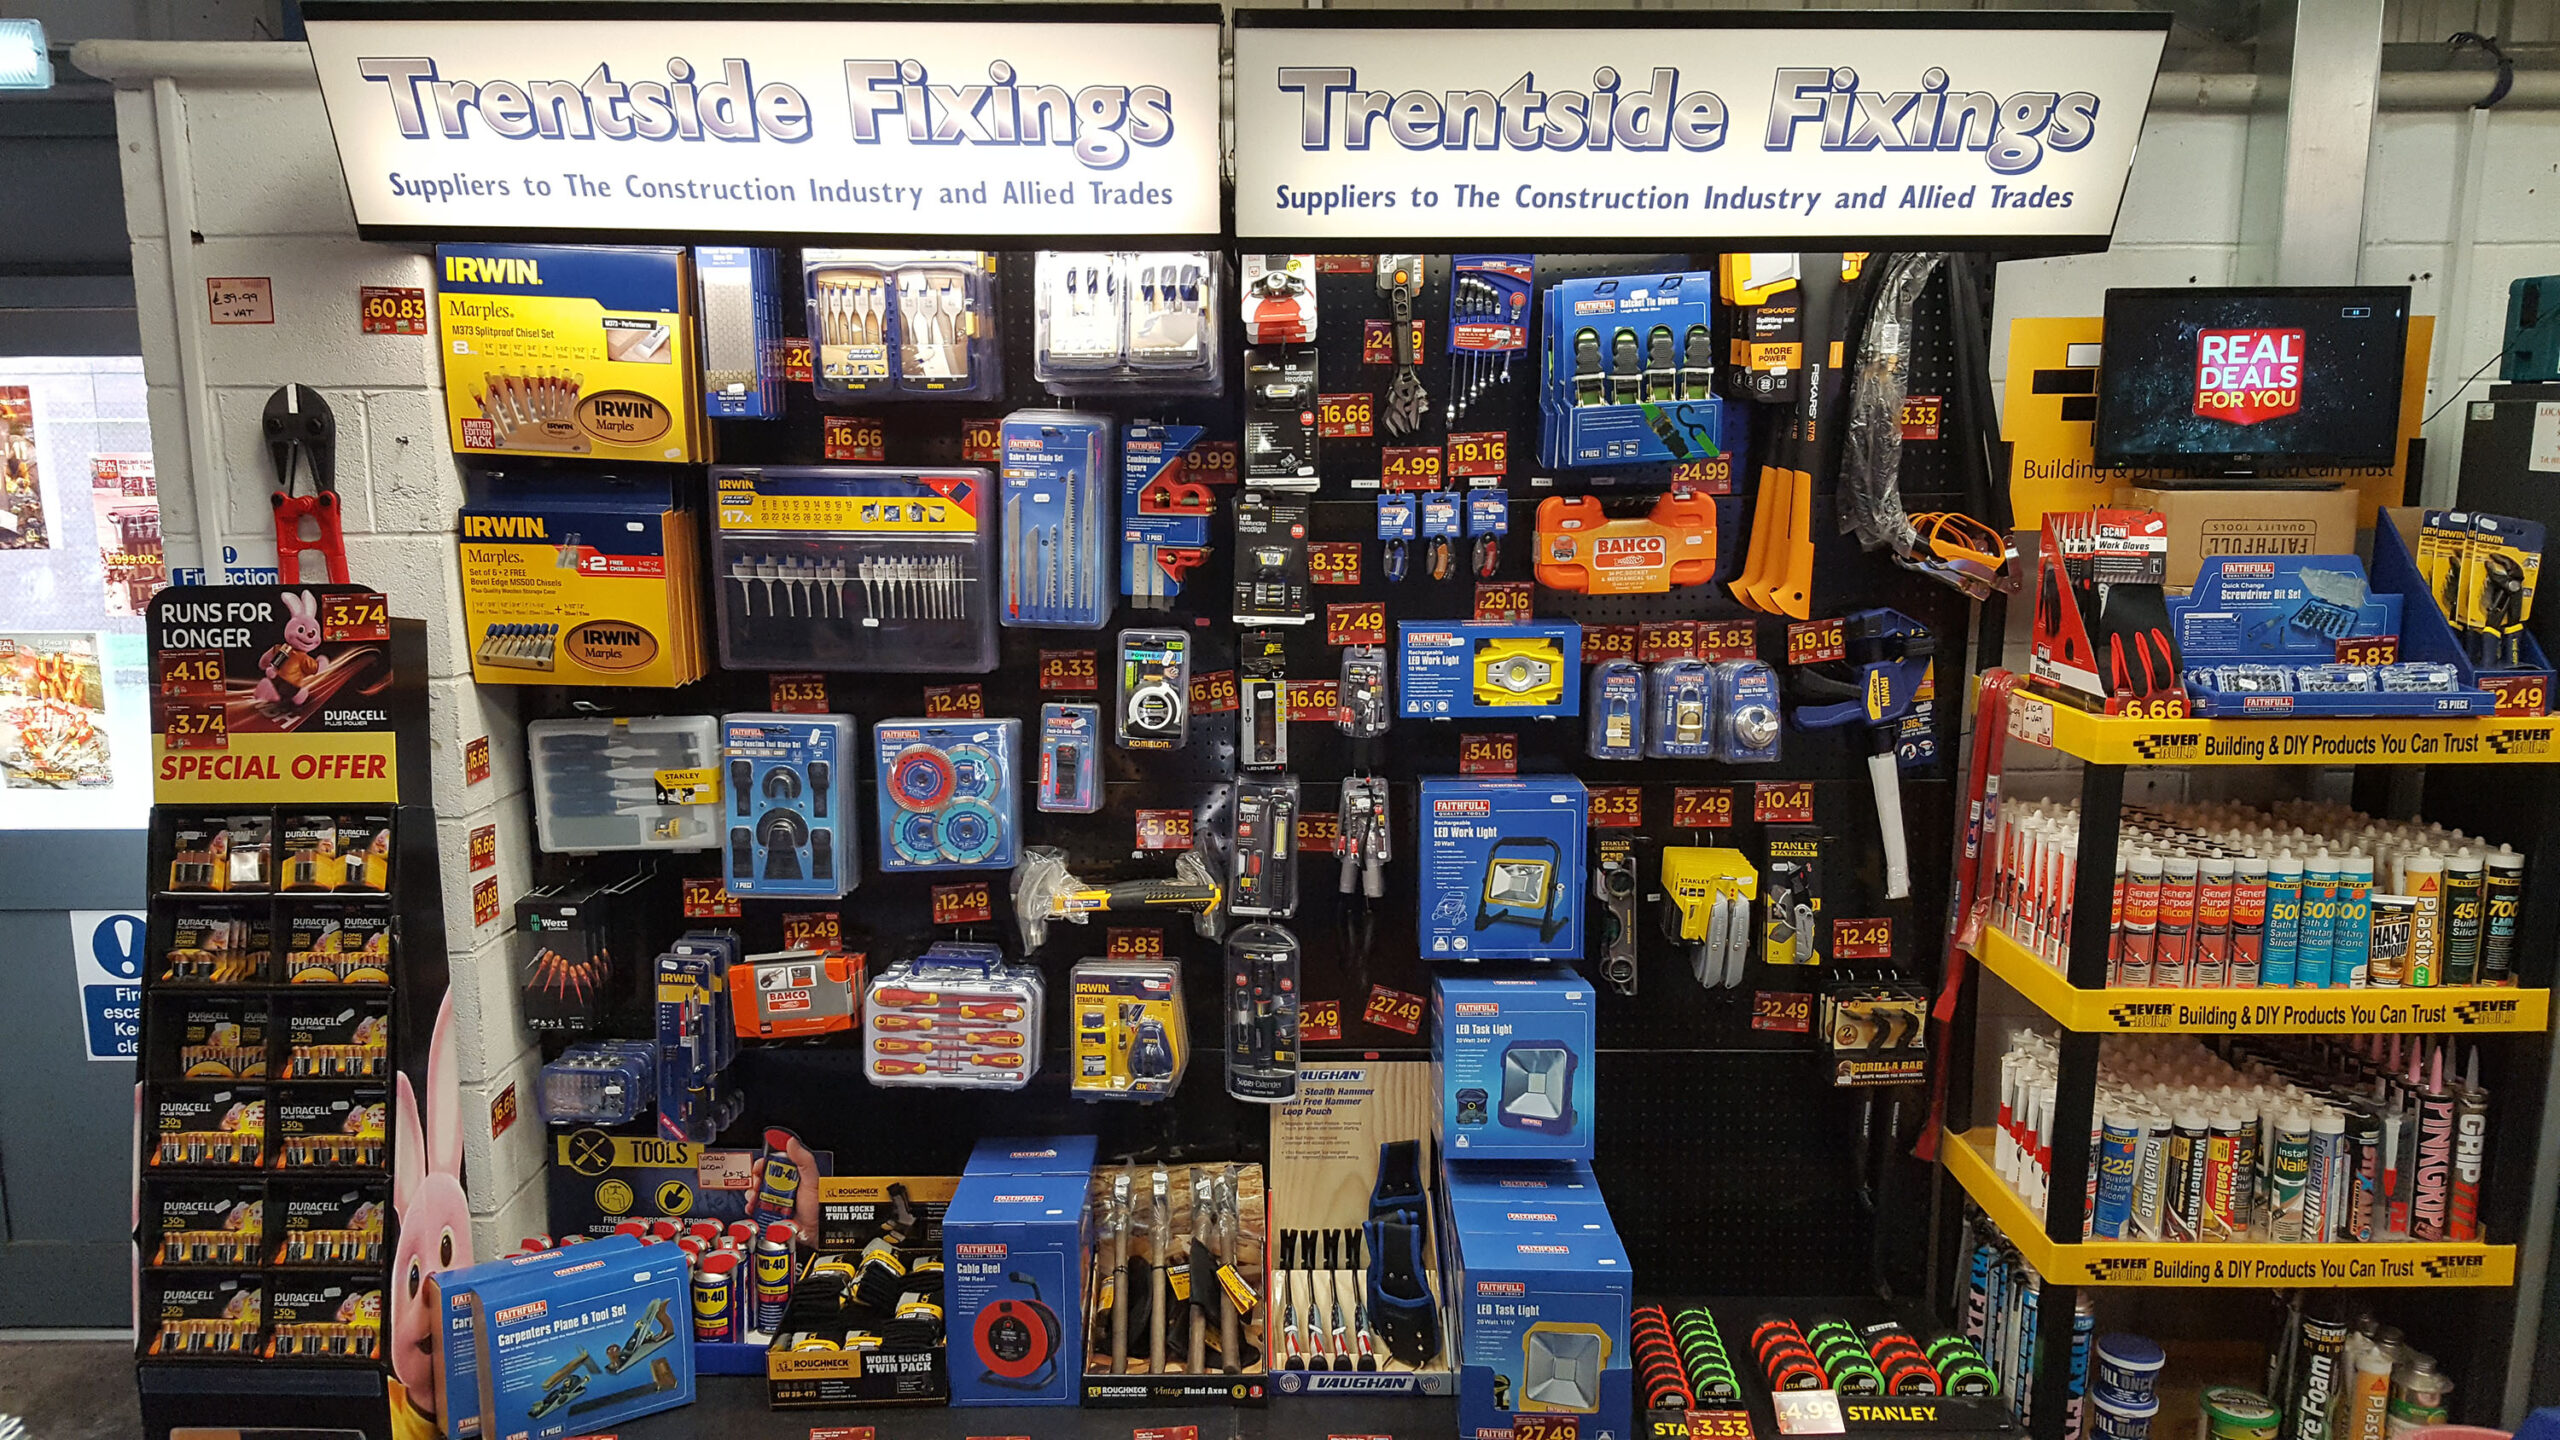
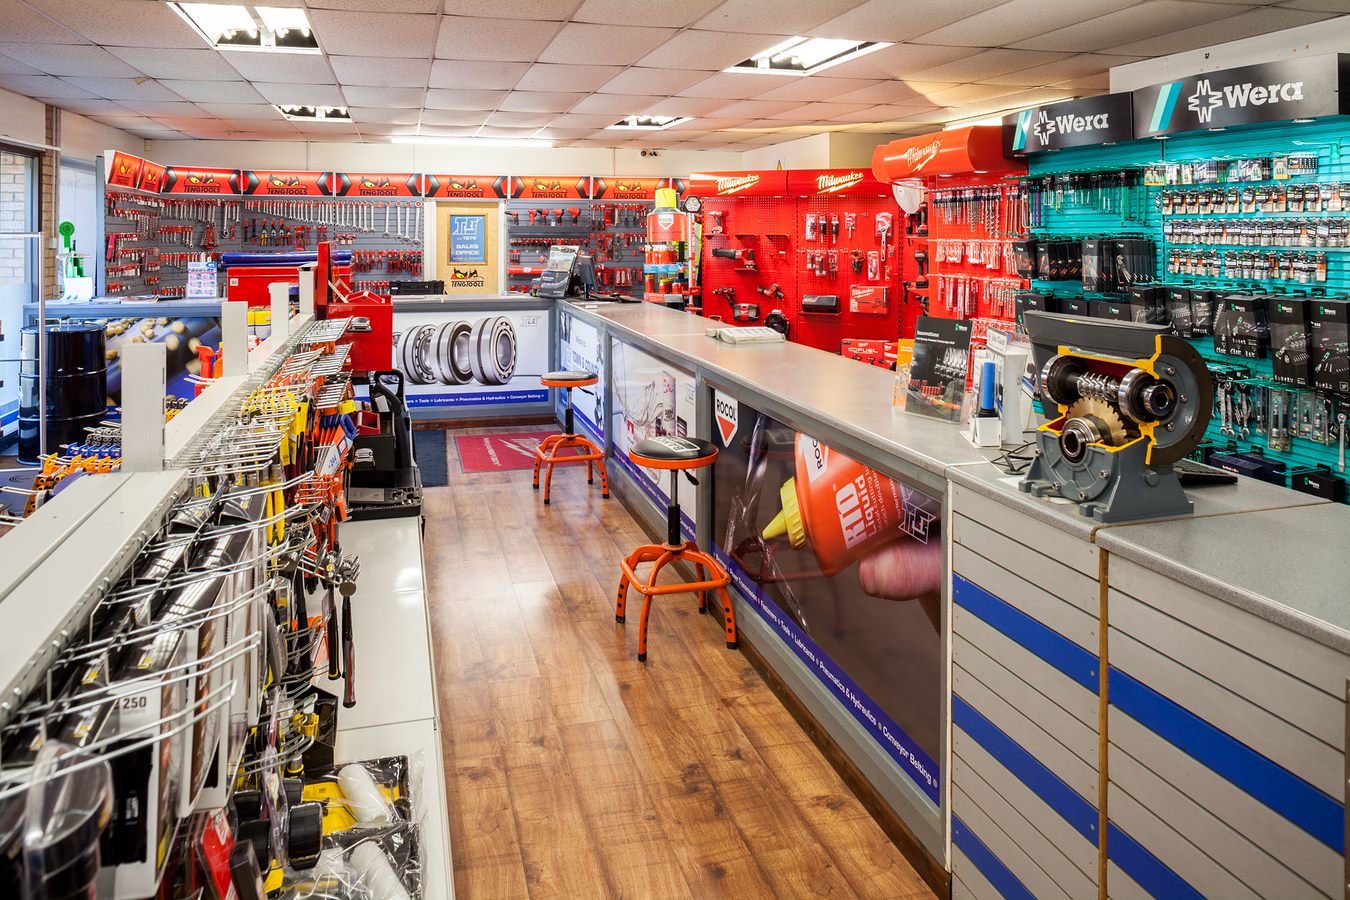

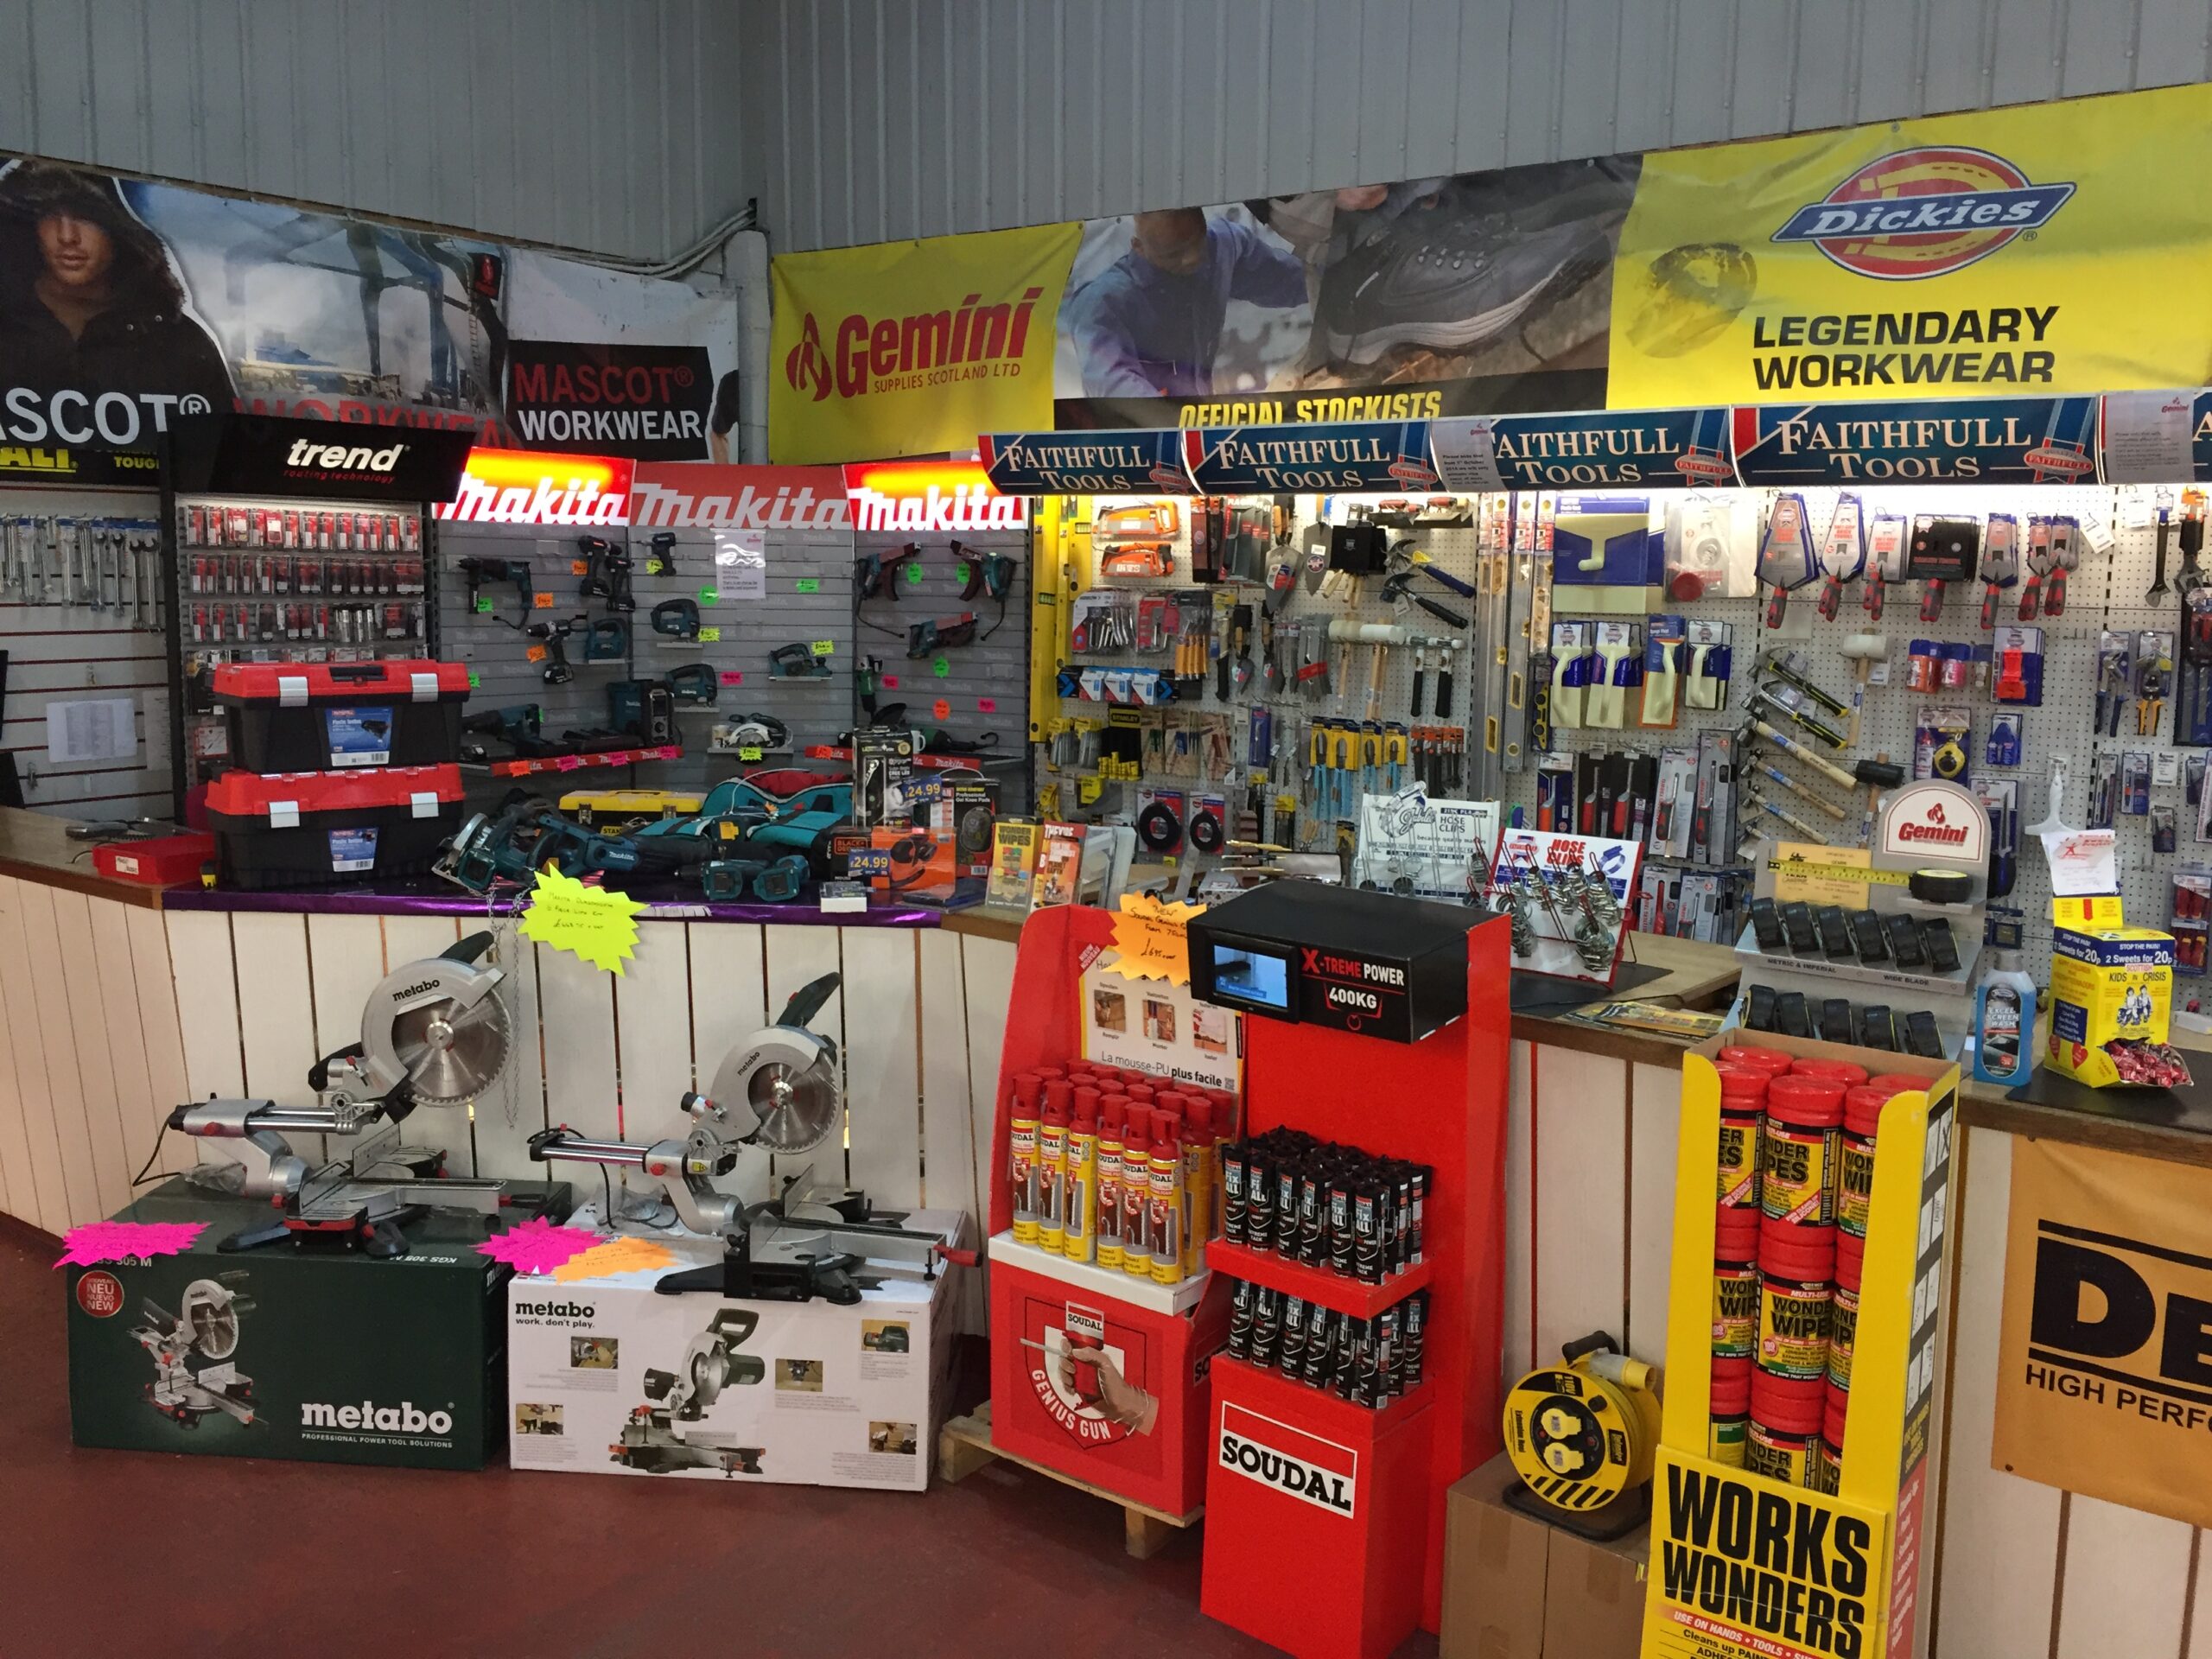
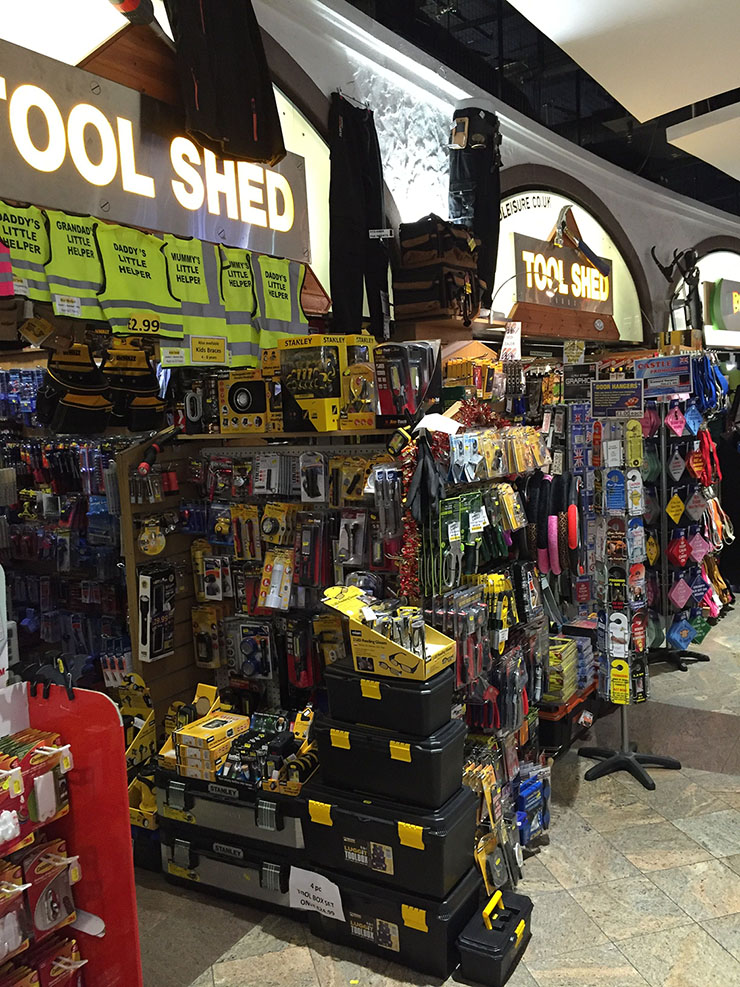
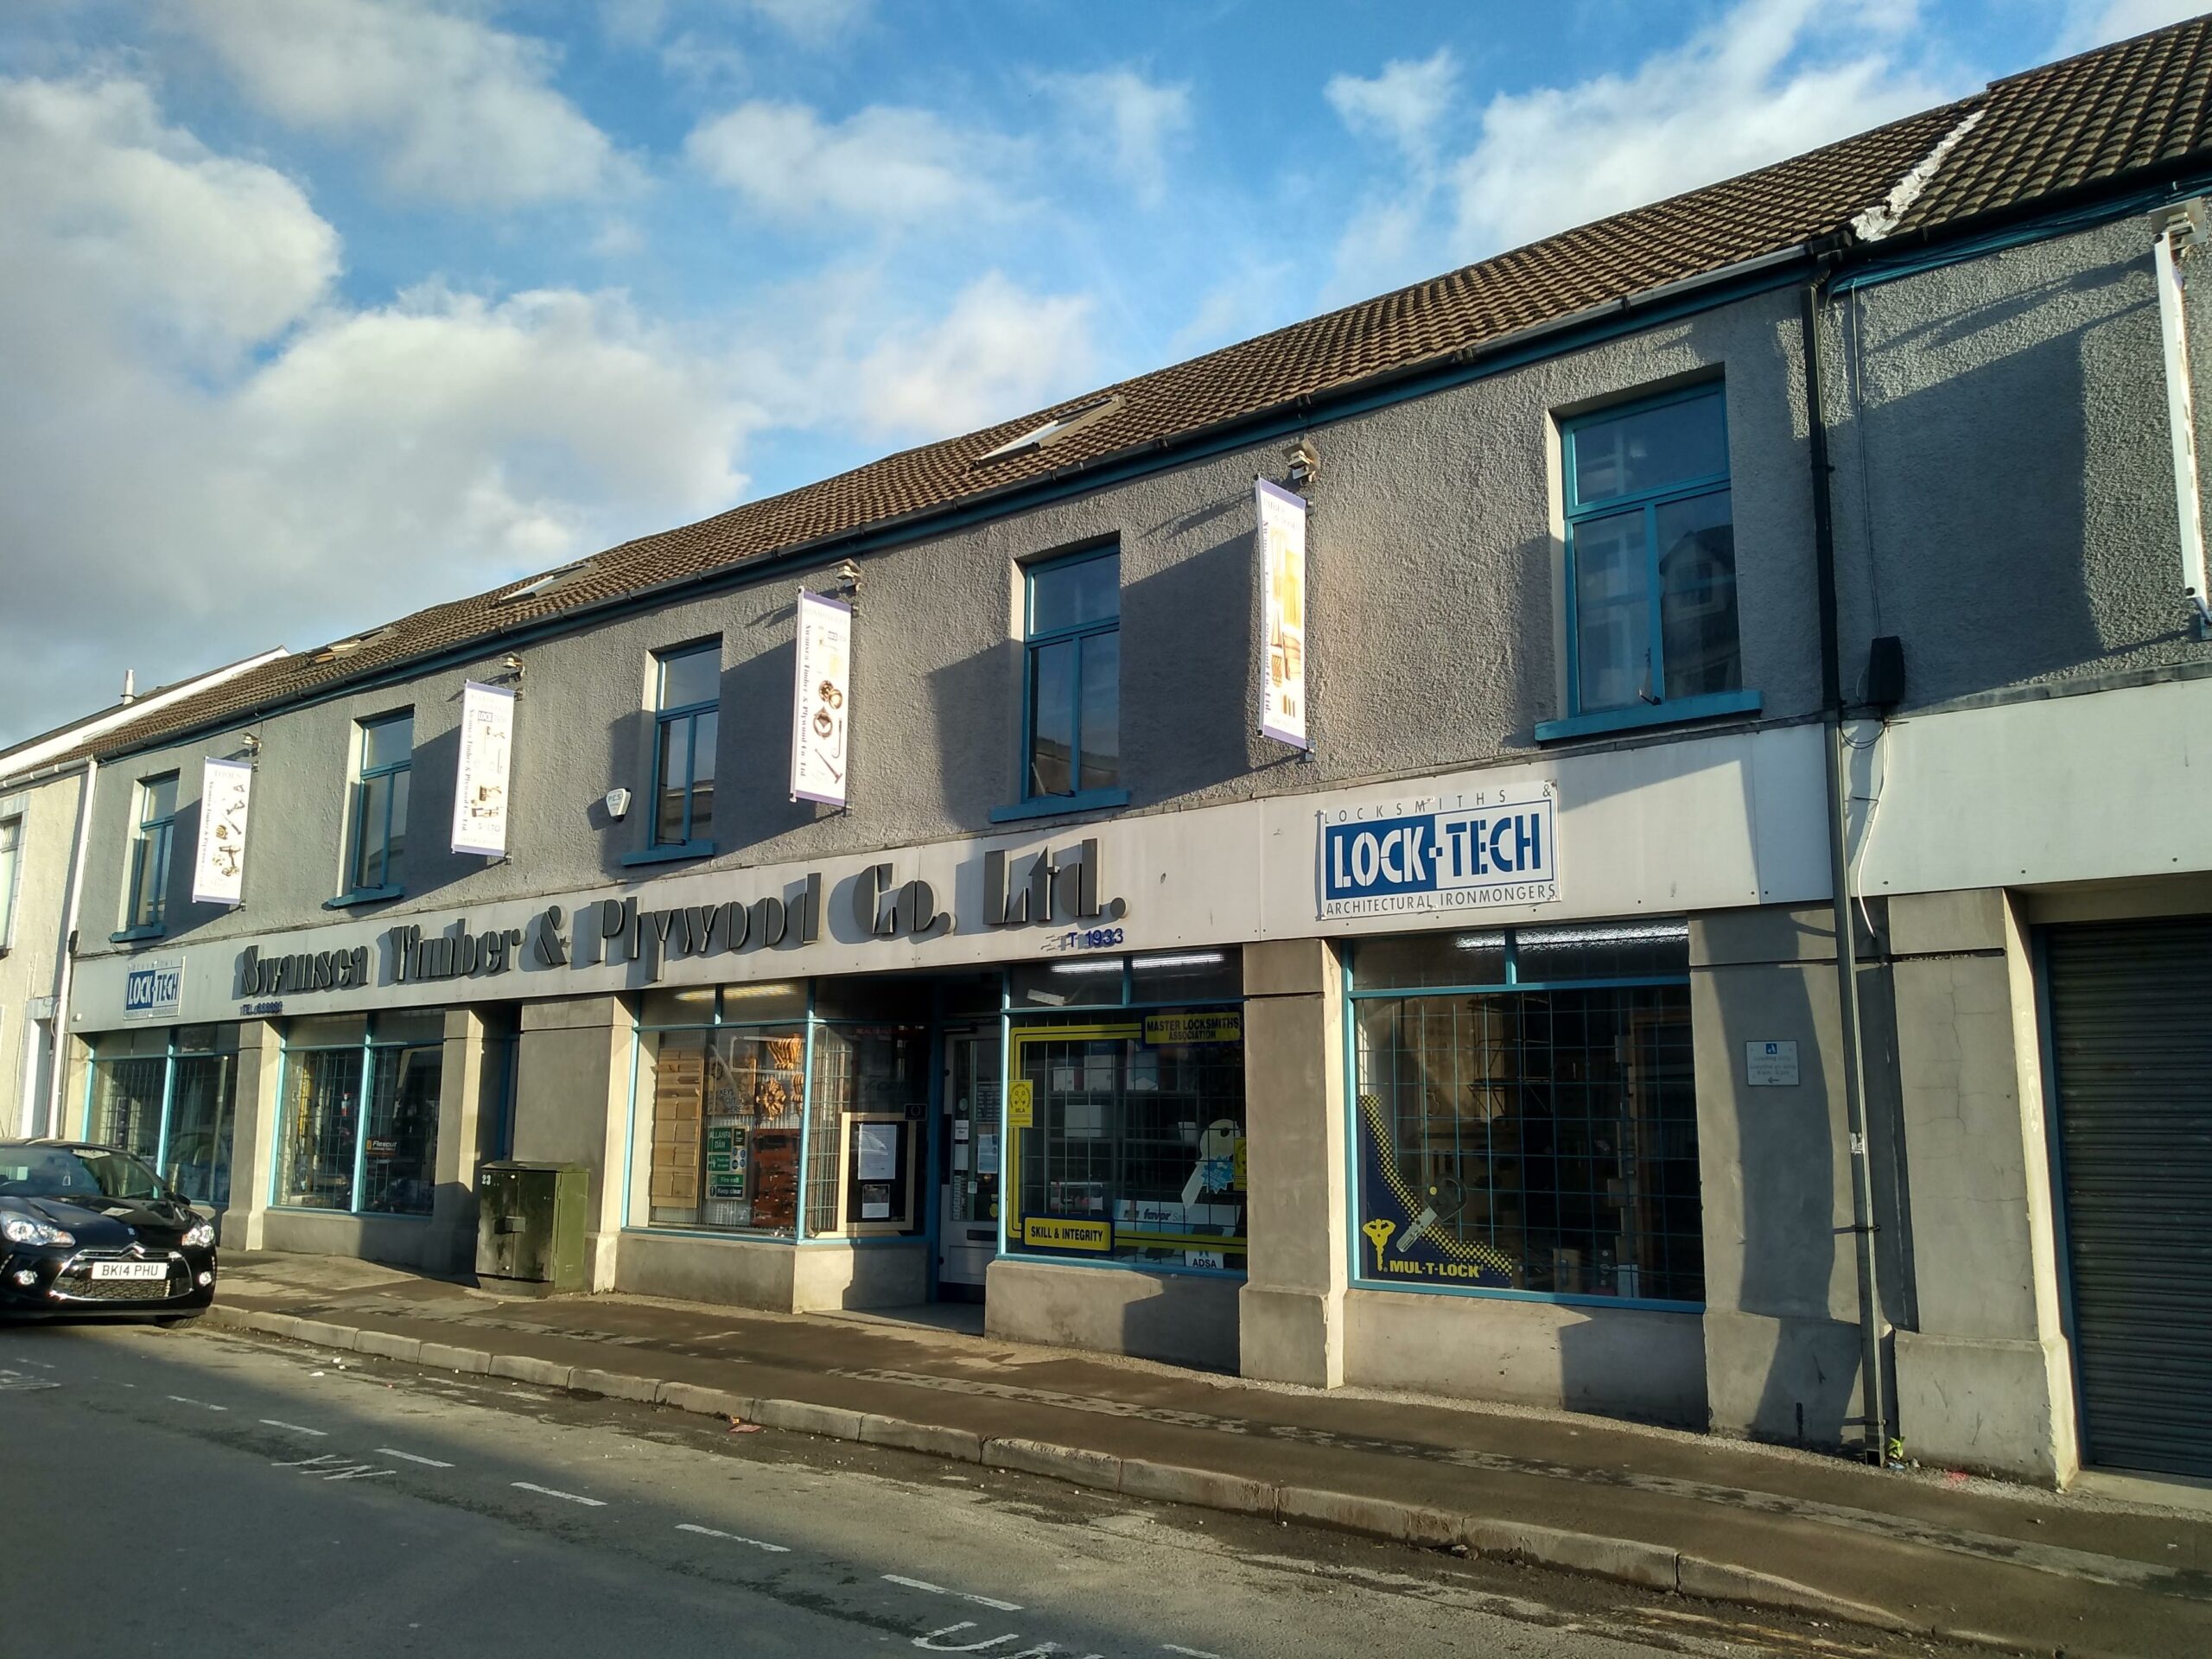
All The Biggest Brands


All The Biggest Brands
Delivering excellence beyond measure as the UK’s leading supplier of own brand tapes.
Ensuring excellence and innovation in all tools made to measure.
Combining quality and value to create the world’s best loved power tools.
Becoming the world’s best supplier of consumer products for the home, garden and outdoors.
Providing an award-winning range of top-quality measuring and cutting devices.
Providing expert security solutions so everyone can feel safer, at home or on site.
Offering sustainable system solutions from tools and accessories to service,
Leading with innovation and performance to meet the demands of the trade industry.
Meeting the complex and ever-changing security demands of today and tomorrow.
Ensuring the highest standards in measuring equipment for the building sector.